
I recently added Cloudflare to a few sites. I must admit to some scepticism on the whole idea of a CDN and its ability to positively impact the performance of the website, but I gave it a go and set one up. The result I must say is positively astounding. So much so that we are now adding it to our corporate site to see what impact there is there.
The Problem – slow site performance
For some time now, our corporate site has suffered some severe performance issues. Not just ordinary performance, we are talking a download time of around 60 seconds for just the homepage. Now while there are some other issues that include some coding, scripting and technical aspects which need to be addressed, there is also a further matter of the web content publishers that use the Content Management System. Both of these have adversely impacted the sites performance, and many times there has been a lot of blame placed upon the CMS itself from being too difficult to use, not intuitive and complicated but really it was about training. The practice of a more rigorous code review process also contributed to the matter, which is being addressed as well. Ultimately, a quick fix appeared to be the potential for a CDN to speed up the delivery of content.
What is a CDN?
A Cloud Delivery Network (CDN) is a system of servers around the world that are connected and that host your content for you. Its a way of providing alternative sources of distributing the content to users from various alternative high speed delivery servers. Mostly from a server that is closer to the user which adds to the speed of delivering the content. The CDN will make copies of the site and the site content and when a user requests content that is part of the CDN, the network will redirec the request to communicate with the cached content. The process is virtually transparent to the end user except for the speed of delivery which should become noticably faster.
There are a lot of CDN’s around these days, from from the very high end providers such as Akamai to the lower end ones, which have proven to be quite successful. In this case, at least for trials, we chose CloudFlare.com which gives a fantastic business account for just $200 per month. They offer some great free accounts as well for those of us who are simply blogging, but ultimately, this provided the best deal to go for some trials, get some stats and see what the difference was.
Watch the Video
Installing Cloudflare
On your simple website, the installation is a very simple process. By entering the URL of the site you want to add, simply click the Add Website button and the CloudFlare wizard will take over the rest searching the server for the various records that it will use to collect the appropriate content.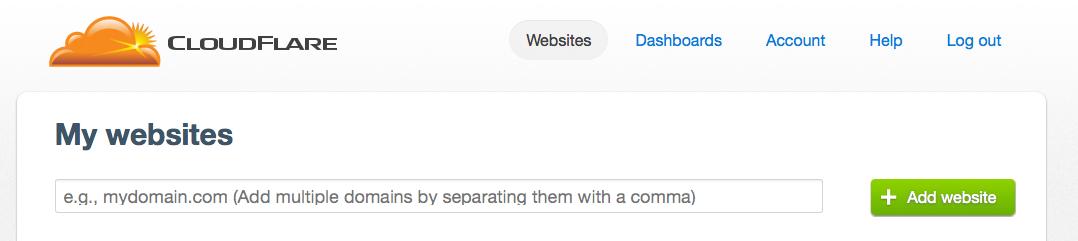 When the records have been scanned, the wizard will ask you to continue.
 The wizard will present the user with the DNS records to be configured, this is not too daunting a task as there is already a recommended configuration provided. The real options are to choose what goes through the cloud network, versus what will bypass the cloud. For the more advanced, a zone file can be uploaded with a set of preconfigured records.
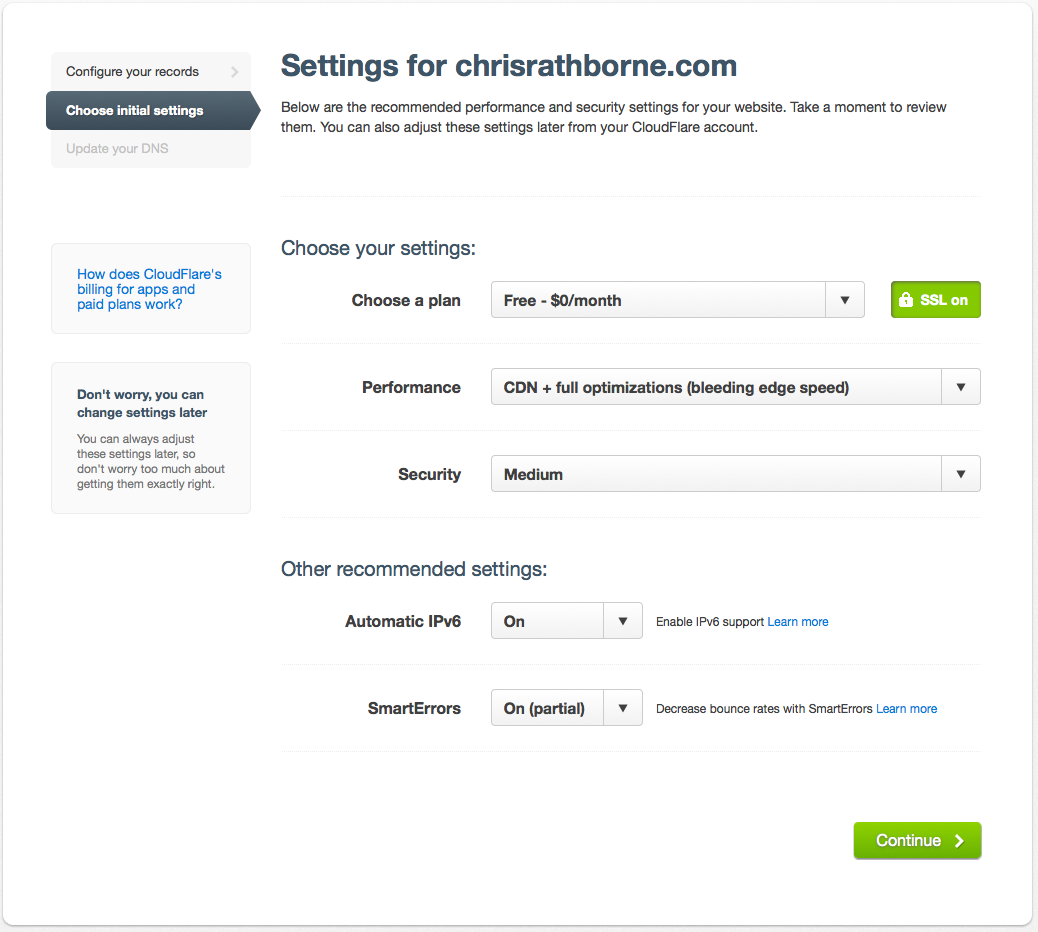
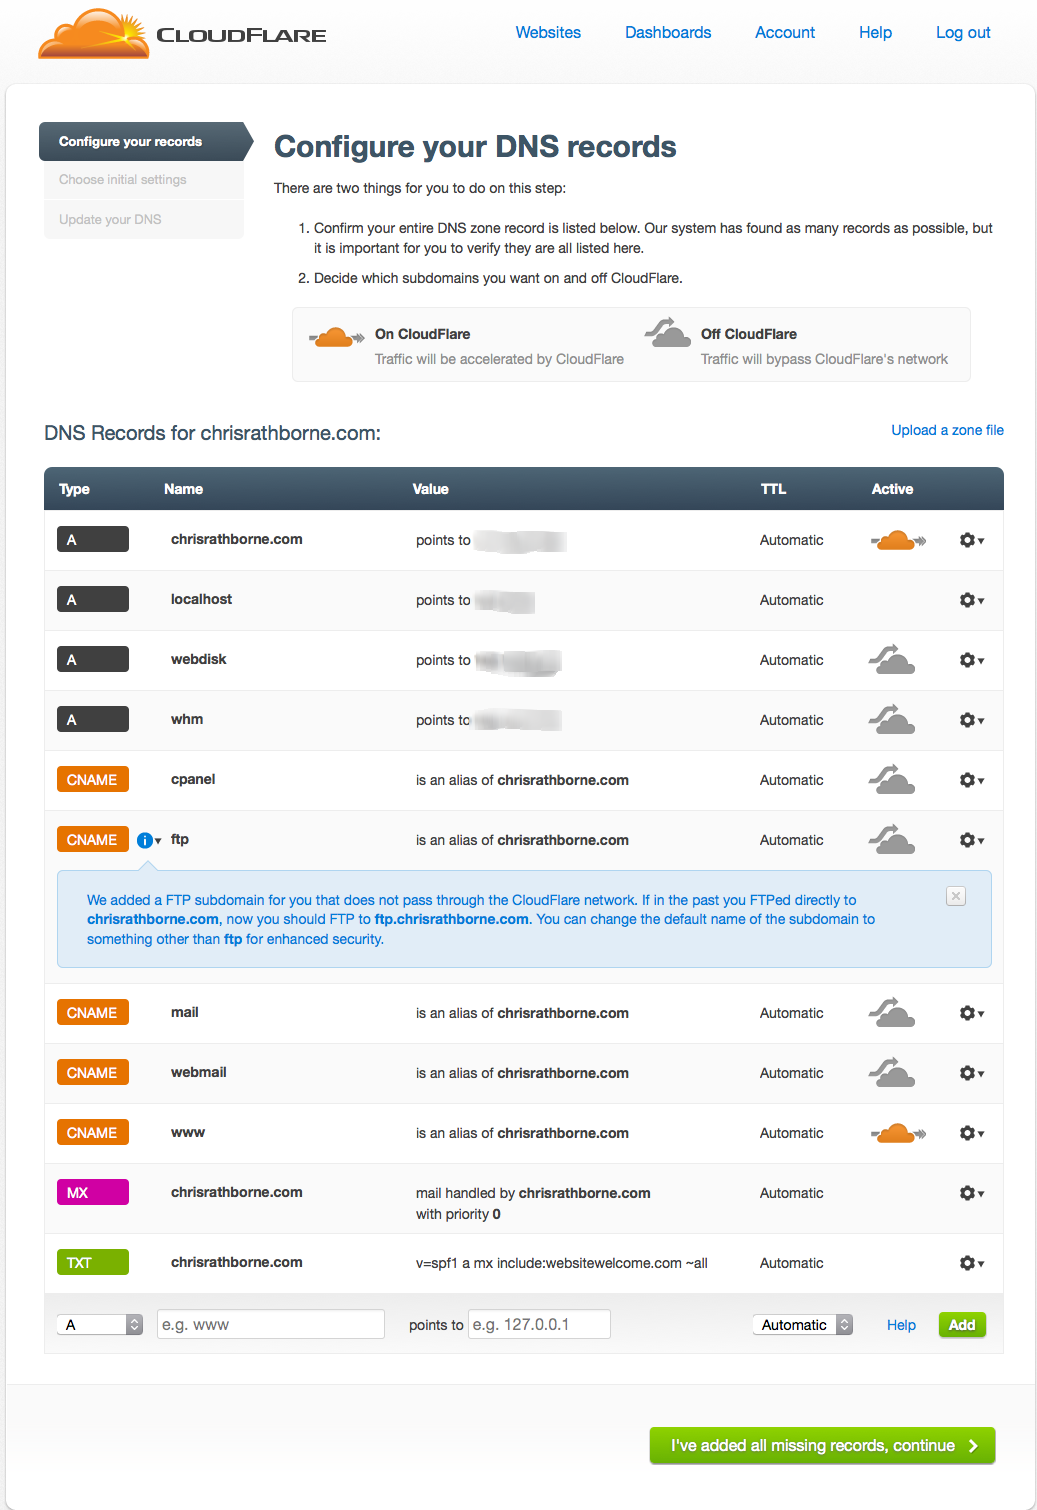 The final option is to set your plan and the configurations that are desired. For this site, I chose the free option and the full optimisation, whcih basically means that as much content as possible will be sent to the cloud. Security settings are something additional, and you can limit the countries that are accessing your website. Its easy enough to move to the business account which offers more support and some other options, but again, for this example the free option was selected.
 The final setting is to change your nameservers to redirect them from their current position to the cloudflare network. This is doen through the host of your nameserver (the company that hosts your internet address). This tells the traffic to be routed through the CloudFlare network rather than direct to your site host server.
Using a CNAME setup
One difference we had was to use the CNAME setup. This allowed us to modify our CNAME record to direct the traffic to the CloudFlare server rather than change the nsameservers. A key difference (and benefit), apart from the instant change, was that if we wanted to change the records back, we could change the CNAME record back and we would have instant roll-back. When changing NameServers, there can be a lag in the update of up to 48 hours and this method made the changes instant. This option was only available under the business account with CloudFlare.
Results
Overall, performance has improved impressively. The trial site we have implemented so far moved from around 27 seconds to load to less than 7 seconds. The final screenshot below indicates the performance of this site alone. The CloudFlare network has quite a few benefits, this is the free account and the performance speaks for itself.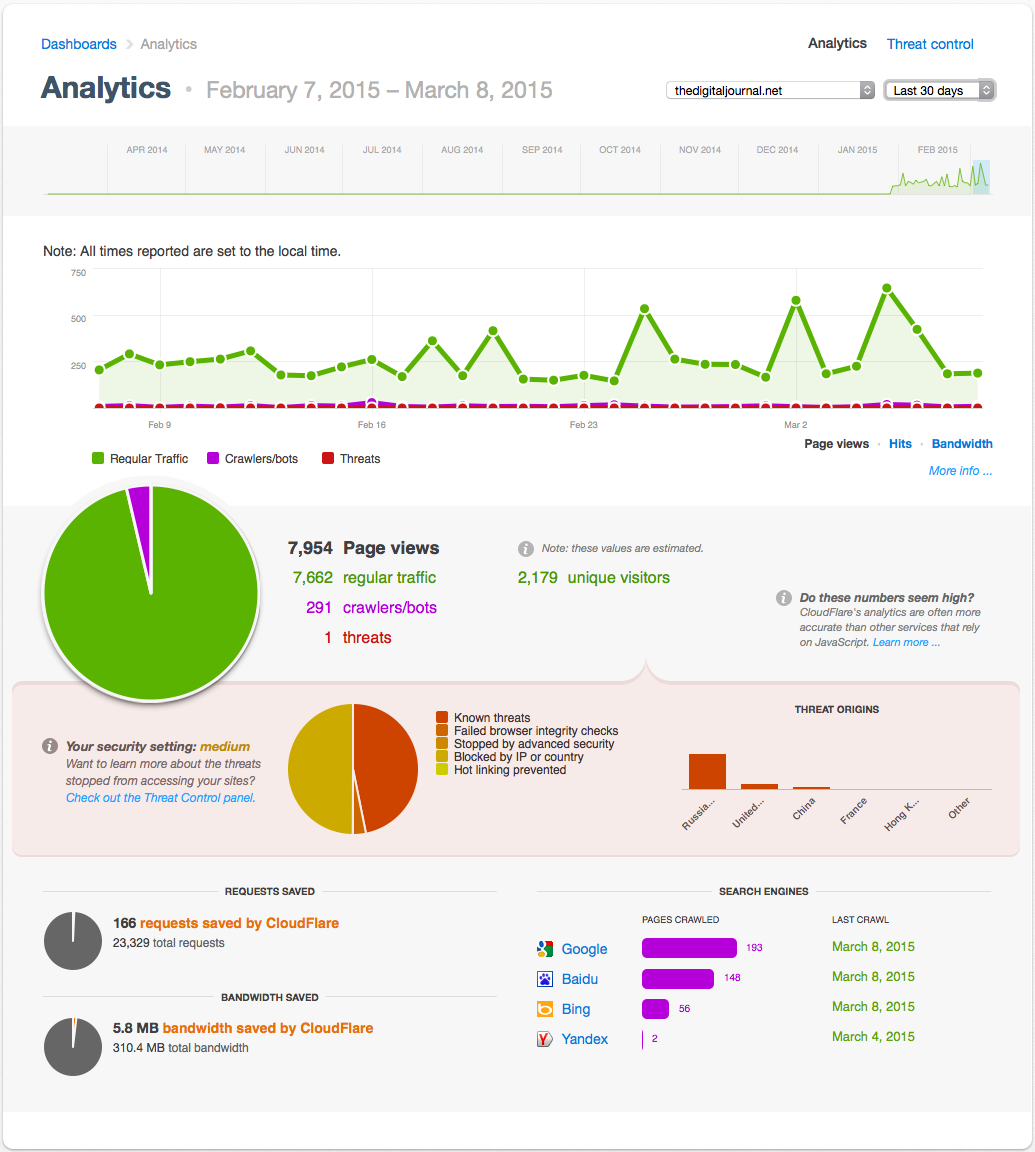
1 comment
[…] a follow up to the previous post on installing CloudFlare, the implementation was completed on our corporate site with some […]